这是一篇记录uniapp实践遇到问题的文章
1.新建页面:在pages.json中的pages对象中注册
2.动态设置当前页面标题
1
2
3
| uni.setNavigationBarTitle({
title: e.title
})
|
3.页面提示toast
1
2
3
4
| uni.showToast({
title: "提示文本",
icon: 'none'
})
|
4.页面跳转,保存当前页面
1
2
3
| uni.navigateTo({
url: "../../pages/xxx/index?title=标题"
});
|
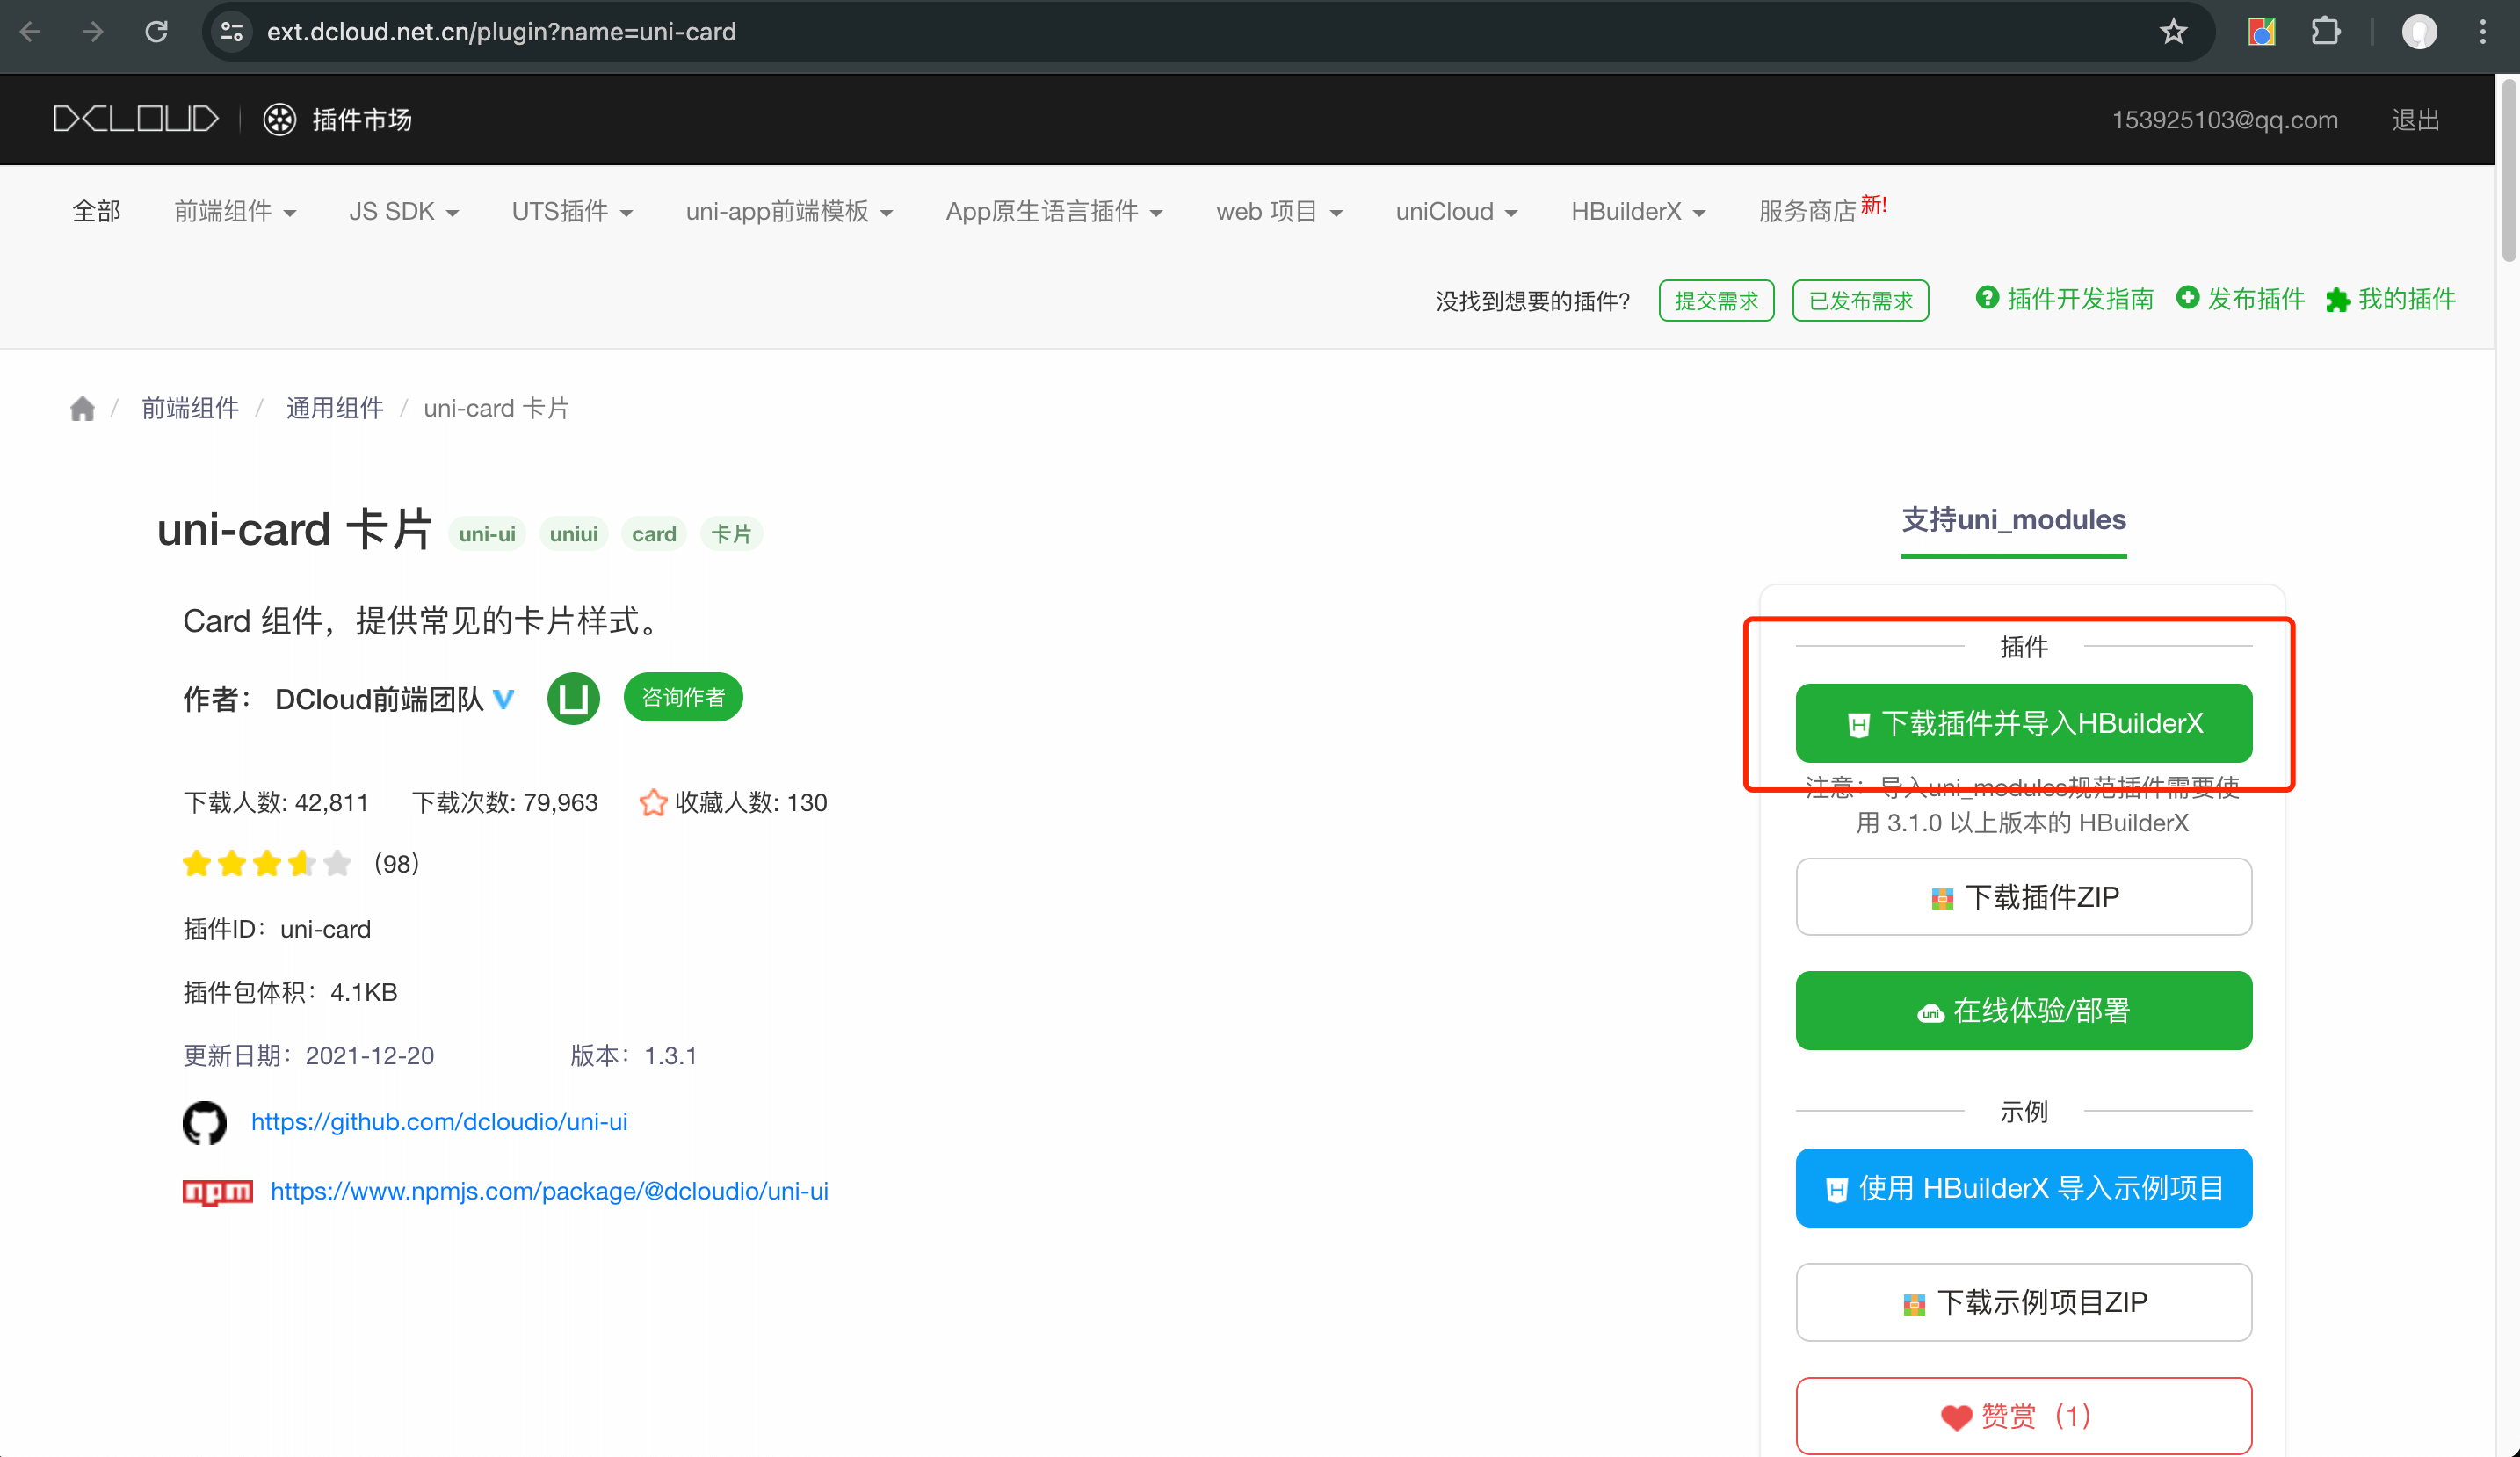
5.unipp内置组件,按需引入。需要到组件下载页面 ,在页面右侧选择‘使用 HBuilderX导入示例项目’,导入到HBuilder中对应的工程。
例如uni-card卡片导入页面如下
6.网络请求封装
第一步:在项目根目录创建utils文件夹,新建env.js和request.js文件。
env.js
1
2
3
4
5
6
| "use strict";
// 变量可自行添加修改
export default {
appId: "wx1234567890123456", //小程序appid
baseUrl: "http://192.168.xxx.xxx", //api地址
};
|
request.js
1
2
3
4
5
6
7
8
9
10
11
12
13
14
15
16
17
18
19
20
21
22
23
24
25
26
27
28
29
30
31
32
33
34
35
36
37
38
39
40
41
| import env from "@/utils/env";
export const request = (options = {}) => {
return new Promise((resolve, rejects) => {
handleRequest(options, resolve, rejects);
});
};
// 发起请求
function handleRequest(options, resolve, reject) {
uni.showLoading({
title: "加载中",
});
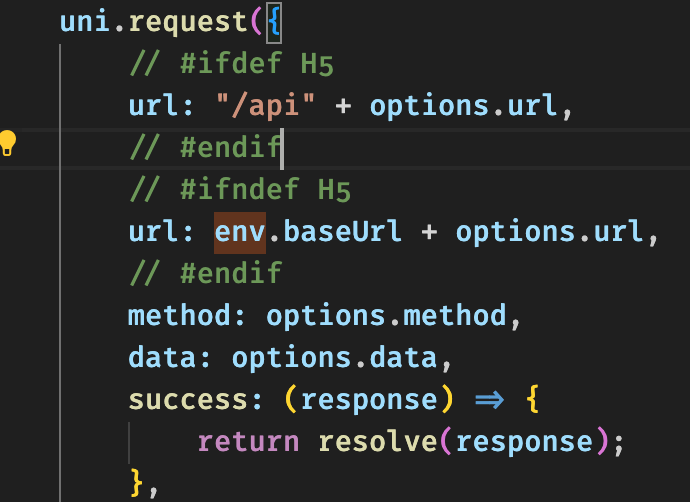
uni.request({
// #ifdef H5
url: '/api' + options.url,//H5,通过vue.config.js代理请求api地址
// #endif
// #ifndef H5
url: env.baseUrl + options.url,//非H5,请求url要全路径
// #endif
method: options.method,
data: options.data,
success: (response) => {
return resolve(response);
},
fail: (err) => {
if (err) {
if (err === "canceled") {
} else {
uni.showToast({
title: err.errMsg,
icon: "none",
});
}
return; //弹出错误提示信息,这里直接return掉
}
return reject(err);
},
complete() {
uni.hideLoading();
},
});
}
|
第二步:项目根目录创建api文件夹,新建user.js文件。
user.js
1
2
3
4
5
6
7
8
9
10
11
12
| // 引用网络请求中间件
import { request } from "@/utils/request.js";
/**
* 由code获取openId
*/
export function getOpenId(data) {
return request({
url: "/authentication/exchangeOpenId",
method: "POST",
data,
});
}
|
第三步:在页面引入需要的业务模块。
1
2
3
4
5
6
7
8
9
10
| import { getOpenId } from '@/api/user.js'
export default {
async onLoad() {
let queryData = {
code: 'xxx',
}
const res = await getOpenId(queryData)
console.log(res);
}
}
|
7.uniapp使用H5运行,浏览器报跨域
第一步:在项目根目录新建vue.config.js(vue.config.js 是一个可选的配置文件,如果项目的根目录中存在这个文件,那么它会被自动加载,一般用于配置 webpack 等编译选项)文件。
vue.config.js
1
2
3
4
5
6
7
8
9
10
11
12
13
14
15
| // vue.config.js
module.exports = {
devServer: {
proxy: {
"/api": {
target: "http://192.168.xxx.xxx",
changeOrigin: true,
pathRewrite: {
"^/api": "",
},
},
},
},
};
|
第二步:在request请求地址配置/api路径
PS:App、小程序等非H5平台,是不涉及跨域问题的,如果以H5的方式运行在浏览器中,则存在跨域。
8.uniapp调用微信小程序wx.login接口
1
2
3
4
5
6
7
| uni.login({
provider: 'weixin',
success: function (loginRes) {
//loginRes中有code,拿着code再请求自己服务器以获取openId
console.log(loginRes.code);
}
});
|
9.app.vue中异步请求未完成,初始化页面获取不到异步结果
第一步:在main.js里面注册onLaunched,isResolve
main.js(vue2)
1
2
3
| Vue.prototype.$onLaunched = new Promise(resolve => {
Vue.prototype.$isResolve = resolve
})
|
第二步:在app.vue中的请求结束加上this.$isResolve()。
1
2
| await getOpenId();
this.$isResolve();
|
第三步:在初始化页面的onLoad或onShow方法中调用onLaunched
1
2
3
4
5
| async onShow(options) {
await this.$onLaunched
//异步完成后,执行下面代码
console.log('Show')
}
|
10.在app.vue中定义全局变量
1
2
3
4
5
6
7
8
| export default {
globalData: {
openId: ''
},
onLaunch: function () {
this.globalData.openId = loginRes.code;
},
}
|
在相关页面使用
1
2
3
| onLoad() {
console.log('oepnId', getApp().globalData.openId);
}
|